Showing posts with label sides. Show all posts

Sunday, June 17, 2012

Flat Bread

Dr. Butler, a guest chef, came to class to teach the buttas how to make homemade flat bread and pasta.  It was such a fun class and everything we had was delicious.  These recipes are definitely keepers.

Flat bread:
1/4 cup warm water
1 Tbs plus 2 tsp yeast
1 large egg, beaten
1/2-2/3 cup water at room temperature
3 1/4 cups all purpose flour
2 tsp Kosher salt or 1 tsp fine sea salt
1 Tbs plus 1 tsp sugar
1/4 cup clarified butter (Ghee) at room temperature
olive oil
optional: delicious seasonings, such as Fleur de sel, Piment d'espelette, and Parmesan, to taste

To make the dough: Combine 1/4 cup water and yeast and let stand for 10 minutes.  Mix egg with remaining water and stir into yeast.
Combine flour, salt, and sugar in bowl of a mixer with dough hook.  Add butter and mix at low speed.  
Then add egg mixture and mix till dough comes together.  Continue in machine for 3-4 minutes on low-medium until dough is smooth.
knead by hand for a brief time and then form a ball.
Lightly oil a bowl and put the dough into it.  Slightly oil a piece of plastic wrap and place over dough.  Cover with a damp towel and allow to rise for 2 hours.

Mama B prepared the dough in advance.  This is what it should look like:
Preheat oven to 350.  Put racks at upper and lower oven positions.  
Line 2 baking sheets with parchment and oil lightly.

Flour the dough and cut ingot quarters.  Take one quarter and flatten it into a rectangle to work with; cover the rest with a damp towel.
Open rollers of a pasta machine to the widest setting (Level number 1).  Roll the dough twice through the pasta machine at the widest setting and then once at each setting up to the 8th setting (the second from thinnest).   The flat bread will get thinner as you move it through the pasta machine settings.  Here is a video demonstration:
Once finished, cut into pieces approximately 3 inches wide and 10 inches long.  
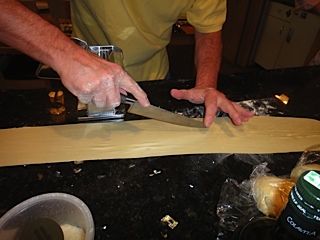
Put on parchment paper and brush with good olive oil.  Sprinkle with sea salt, black pepper, or herbs of your choice and cook for 6 minutes.  Then swap the top and bottom trays and cook for 6 more minutes.  
It may take another 1-3 minutes to get the perfect light brown color.  Let cool on cooling racks.  Store for up to a week in air tight containers.  It is so delicious!
We even tried putting herbs into the dough, here is a picture of our Rosemary Flat Bread dough:
It was a really fun night!  The buttas are practically professionals at this now.  Please stay tuned for Dr. Butler's Homemade Pasta recipe.  

Monday, May 7, 2012

Black Bass with Asparagus and Potatoes

We wanted to learn how to pan fry fish, so Mama Butta went to a local fish market and the butcher suggested Black Bass.  The fillets were thick and the skin was on so it would crisp up nicely.  We decided to serve up our bass with delicious roasted vegetables.  Here is a shot of the ingredients:


Sauteed Black Bass:

Season both sides of the fish with salt and pepper.


Lightly dredge fish in flour and shake of excess.


When pan is hot, add 2 tablespoons Canola oil followed immediately by 1 tablespoon butter.  Place fish in pan skin side down.  Cook until golden crust forms on meat.  Turn fish and cook until skin turns golden brown.  Remove to a warm plate.


Pour out the cooking fat, add 2 tablespoons butter and 1 tablespoon drained capers, fry the capers quickly.  Remove pan from the heat, add juice of 1 lemon and swirl.  Pour sauce over the fish and serve.


Roasted Asparagus and Potatoes:
Snap ends off Asparagus and cut the potatoes in half so they are all roughly the same size.  Season both with olive oil, salt, and pepper:


Bake at 350 degrees for 40 minutes.

Here is the finished the product:


For dessert, Meg surprised us with an amazing chocolate birthday cake for Lauren from a great new bakery, Ally & Eloise Bakeshop, on Forest Drive.


The cake tasted just as good as it looks, so if you are looking for a special treat in Columbia be sure to check out Ally & Eloise!  Stay posted for some homemade Italian recipes to come!


Tuesday, November 23, 2010

Happy Turkey Day! Stuff yourselves with stuffing!

This is the recipe for Mama Butta's cornbread stuffing! Although Mama B would claim it got a little too crispy it was a hit and loved by all - Hope you enjoy!
Happy Thanksgiving!

Cornbread Stuffing

1 black iron skillet of cornbread, any recipe (I usually use Jiffy)
1/2 bell pepper, chopped
3 celery ribs, chopped
1 bunch green onions, chopped
1 medium onion, chopped
1 pound Jimmy Dean sausage (whatever flavor you prefer)
3 cups chicken broth
1 cup melted butter
4 eggs, lightly beaten
1 teaspoon creole seasoning or Lawry's
Salt and pepper to taste
1 pint oysters, drained and chopped (optional)
1 package Pepperidge Farm herb dressing

Make cornbread ahead of time by your favorite recipe in your iron skillet. Saute bell pepper, celery and onions with the sausage. Add all remaining ingredients and stir to combine. Bake in a 450 degree oven, about 1 to 1 1/2 hours, until the crust is brown on top. This will serve 12 amply!

Monday, October 4, 2010

Great salad dressing & melt in your mouth biscuits!


These biscuits are nothing short of amazing! They are so simple and you could match them with just about anything. (And because I have been slack - you get two recipes today! salad dressing & biscuits)

One this cooking class night, we made bread pudding for dessert so we kept our meal on the lighter side. We made an amazing salad (strawberries, feta, roasted walnuts, shredded rotisserie chicken and the same salad dressing recipe that we used our first night of class)

Here is a re-posting of that recipe:
1 tablespoon Dijon mustard (Grey Poupon)
4 tablespoons red wine vinegar
1 teaspoon granulated sugar
1 teaspoon kosher salt
1/2 teaspoon black pepper
1/2 cup extra virgin olive oil

Mix together well! A whisk is the perfect tool for salad dressings!


Soooo good y'all!


This is a great dressing to have already made up in your fridge! Very light and very good!

Now on to the biscuits!!

These are so easy and once you make them, you'll want them all the time - THEY ARE THAT GOOD!

Sour Cream Drop Biscuits
2 cups of self-rising flour
1 1.2 sticks of butter (melted)
(*if you have unsalted butter add a dash of salt to the mix)
1 cup of sour cream

Mix together and pour into mini muffin tins. Bake at 375 for 12-15 minutes.


Drop them into the pan. It is very important to use the mini muffin tins for these biscuits - not large or extra small - they won't turn out as well.
Our smaller biscuits on the far right were not as good as the first two pans. If you made these correctly the outside will be a little crisp and the inside very fluffy.


Pure golden heaven!

Monday, September 27, 2010

Spaghetti Squash

The night of the Lou Anna's Creole Chicken the ladies prepared spagetti squash.

Squash was another one of those veggies that our young buttas tried and then loved!

To make this dish, first cut the squash in half and then scrape out all the seeds.


Once the seeds have been removed. Place it in the oven rind side up at 375 degrees for about 45 minutes. Remove from oven and scrape with a fork.


The butta girls loved this concept and taste! Serve it just like pasta for a low carbohydrate substitute. For the creole night, the squash was a side but it can be the main dish as well! We have even talked about making a spagetti with meatballs dish using squash instead of noodles!

Tuesday, August 10, 2010

Fried Green Tomatoes


Last week we cooked an ultimate Southern classic Fried Green Tomatoes, Baby Back Ribs, & corn on the stove!


Here is the recipe for the Fried Green Tomatoes:
1 cup stone-ground cornmeal
1 cup all-purpose flour
1 tablespoon garlic powder
Pinch of cayenne
1 1/2 cup of buttermilk
Kosher salt & freshly ground peper
4 large unripe tomatoes, cut into 1/2-inch think slices, ends removed
1/2 cup vegetable oil
1 tablespoon unsalted butter

Hot Pepper Sauce & Lemon Wedges for serving

Directions:


**In a large bowl, combine the cornmeal, flour, garlic power and cayenne together. ** Pour the buttermilk into a seperate bowl and season with salt & pepper. Dip the tomatoes in the buttermilk and then dredge them in the cornmeal mixture, coating both sides well.

**Instead of the cornmeal, flour, cayenne and garlic powder we used.


(This is must have for your pantry for frying and you get this big tub from your local Sam's. This blend was amazing on the tomatoes and gave it a refreshing lemon-y taste! Highly recommended by the butta clan!)

Place a large cast iron skillet over medium heat and coat with the oil. When the oil is hot, pan-fry the tomatoes (in batches - don't over crowd the pan please!) until golden brown and crispy on both sides, about 3 to 4 minutes on each side. Carefully remove the tomatoes and drain on paper towels. Serve with hot pepper sauce and lemon

Butta lesson #1: We had a dicussion on corn meal & grits. The buttas always ask a lot of questions and they found out both corn-meal and grits are made from corn and they get their names from how finely the corn is ground. Just an intresting side note & a lesson from the butta kitchen!!

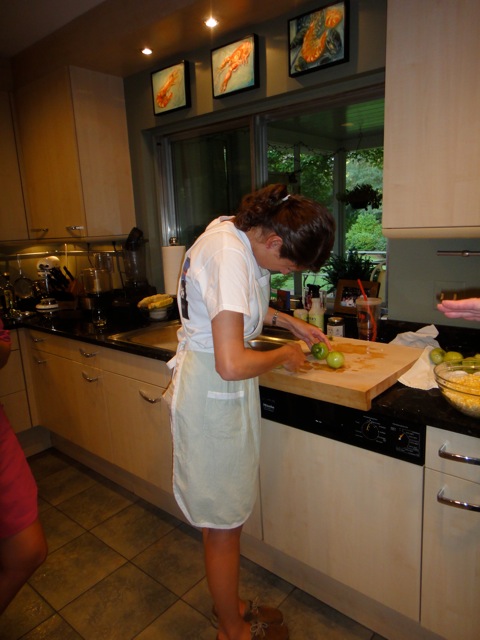
When cutting the tomatoes - pit out the end so you can use the most of your tomato!

Then slice - make thick slices so they hold up better when frying!
Butta lesson #2 of the night: Why are they fried green tomatoes and not regular tomatoes? And what exactly is a green tomato? Green tomatoes are not yet ripe tomatoes, not a different or special type of tomatoes. Because they are harder than tomatoes they can be fried, regular red tomatoes would fall apart.


Here are our dipping bowls. They key to this is to keep one hand wet and one hand dry. Also the recipe says to dip in milk, then in the batter. We tried that way and also double dipping - we dipped in the batter, then in the milk and back in the batter. We pan-fried each one to see what we liked better and we loved the double dip! Test out both & see what your taste buds like the most!!
Remember to season the bowls with salt & pepper!!


Remember your hands!!


& flip!

Enjoy!!

Wednesday, August 4, 2010

Zucchini Pancakes with Basil Chive Cream


This amazing meal was from last week, sorry about the delay!

For basil chive cream:
3/4 cup sour cream
1/4 cup chopped fresh basil
2 tablespoons chopped fresh chives
1/2 teaspon salt, or to taste

For Pancakes:
4 cups coarsely grated zucchini (1 pound)
1 1/4 teaspoons salt
1/4 cup all-purpose flour
1 1/2 teaspoons sugar
1/4 teaspoon black pepper
2 large egg whites
4 tablespoons vegetable or canola oil

Make basil chive cream: Blend sour cream, water, basil, chives, and salt in a blender until smooth and pale green. Chill until ready to serve

Make pancakes: Put zucchini in a colander and toss with salt. Let stand at room temperature 20 minutes, then wrap zucchini in a kitchen towel and twist towel to wring out as much liquid as possible. Transfer zucchini to a large bowl and stir in flour, sugar, and pepper.

Beat egg whites with a pinch of salt using an electric mixer until they just hold stiff peaks, then gently fold into zucchini mixture.
Heat 2 tablespoons of oil in a 10-inch nonstick skillet over moderately high heat until hot but not smoking. Working in batches of 5, spoon 2 tablespoons batter per pancake into skillet, flattening slightly with back of spoon. Cook pancakes, turning once, until golden brown, about 3 minutes total, transferring as cooked to paper towels to drain and adding more oil to the skillet as necessary. Serve immediately, with basil chive cream.
(Makes 15 pancakes as hors d'oeuvre or side-dish servings)


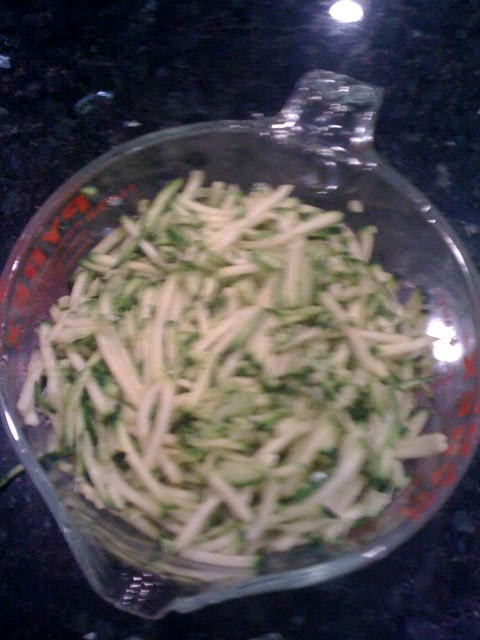
We shredded our zukes using a cheese grater - but it in a bowl and left it for about 20 minutes - to save time, we made the basil chive cream while we waited, of course a little wine and chit chatting also makes the time go by faster!!


Really wring out the zukes hard with a dish towel - the baby buttas remember from the delicious basil tomato pasta that adding salt to a vegetable extracts the water. Less moisture will help the pancakes fry better!


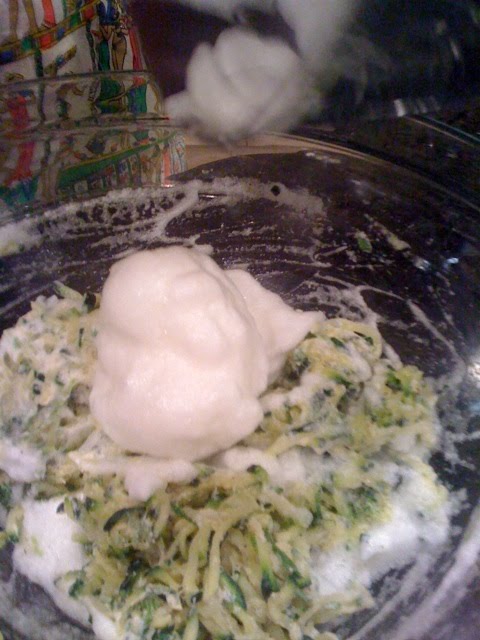
Look at those fluffy egg whites!

Into the pan they go!! We decided during supper that we would have liked to try one that wasn't as thick to see how crispy it would be - do some test tasting to see how you like them!

Flip them just like pancakes!! When you see the sides really starting to crisp - flip them over!

After they were done we placed them on a papertowel to absorb some of the moisture. We also taste tested them right as they were done - don't let them sit to long, they are so much better fresh out of the pan!


Top it off with the amazing basil chive cream and enjoy!!! We really enjoyed these as zucchini is loved by all the buttas and the basil chive cream is really quite good. We also put some on our chicken breasts!